1. Log into ai.alexatranslations.com
2. Click on “Translation Memories” in the left menu
3. Drag and drop your files or click to add translation memory files in any of the supported formats (MXLIFF, SDLXLIFF, TBX, TMX, and XLSX).

4. Select the language pair for each Translation Memory and then click “Upload”.

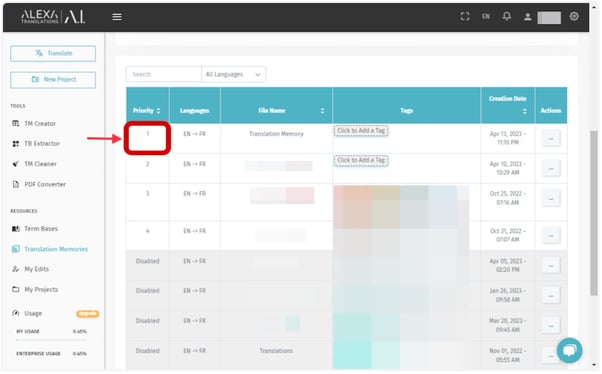
5. After the upload is completed, search the term base you created and set the priority to a value above zero (0) to enable it.
By default, a new Translation Memory has a priority of zero (0). In other words, it is disabled and not applied to the translation. You can set your desired level of priority for your Translation Memory by changing the priority level to a value over zero (0).
It should be noted that:
- Level one (1) is the highest priority, hence, the Translation Memory with priority one (1) will be applied to the translation over the ones with priority two (2), three (3), etc.
- If two alternatives for the same translation have the same level of priority, the newest one (the Translation Memory added last) will be applied.