![Alexa Logo - _WOTRNS - ATAI-1.png]](https://support.alexatranslations.com/hs-fs/hubfs/Alexa%20Logo%20-%20_WOTRNS%20-%20ATAI-1.png?height=50&name=Alexa%20Logo%20-%20_WOTRNS%20-%20ATAI-1.png)
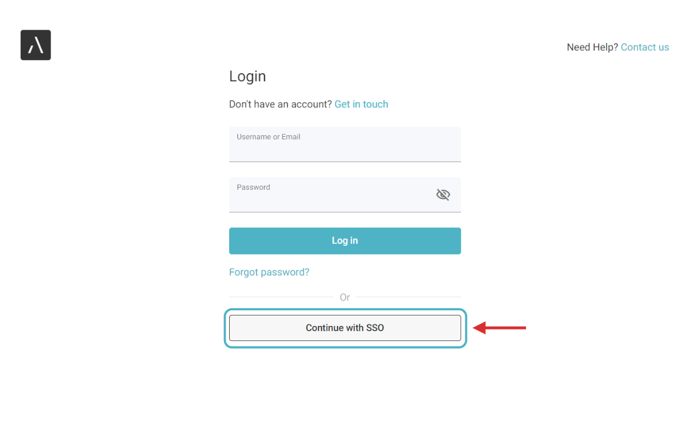
1. Go to Alexa Translations A.I.
2. Click on Continue with SSO.
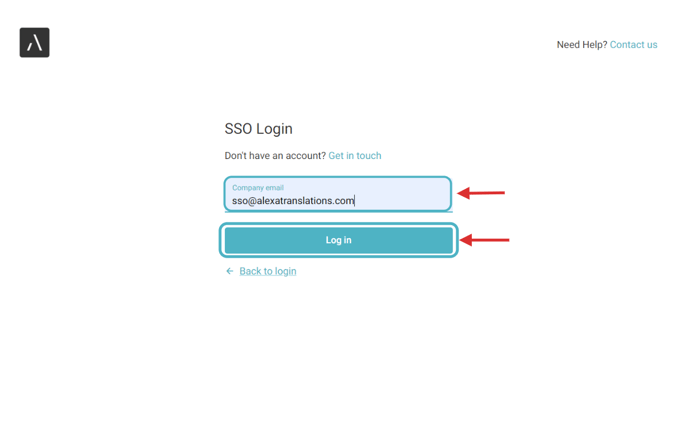
3. Type your Company email and click on Log in.
4. The email provider (Gmail, Outlook, etc..) will direct you to another tab to authenticate your email.
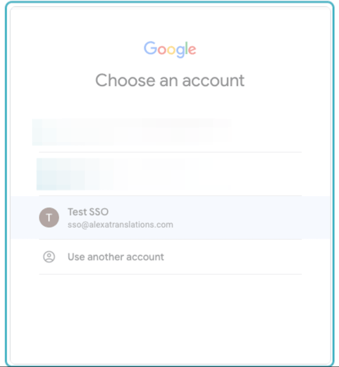
5. After the email address is verified, access to the Sign-Up page will be provided.
6. Complete the Profile Information
○ The system will automatically prefill available details based on your enterprise account and email address.
○ All fields must be completed.
○ While the email address is locked and cannot be modified at this stage, other information remains editable.
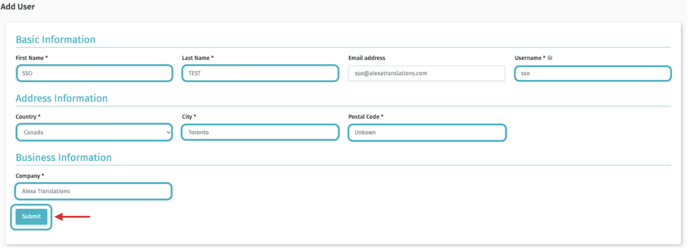
7. Once all the information is completed, click Submit to finalize the account creation process.
The user can now log in by selecting Continue with SSO.
2. Click on Continue with SSO.
3. Type your Company email and click on Log in.
4. The email provider (Gmail, Outlook, etc..) will direct you to another tab to authenticate your email.
5. After the email address is verified, access to the Sign-Up page will be provided.
6. Complete the Profile Information
○ The system will automatically prefill available details based on your enterprise account and email address.
○ All fields must be completed.
○ While the email address is locked and cannot be modified at this stage, other information remains editable.
7. Once all the information is completed, click Submit to finalize the account creation process.
The user can now log in by selecting Continue with SSO.