![Alexa Logo - _WOTRNS - ATAI-1.png]](https://support.alexatranslations.com/hs-fs/hubfs/Alexa%20Logo%20-%20_WOTRNS%20-%20ATAI-1.png?height=50&name=Alexa%20Logo%20-%20_WOTRNS%20-%20ATAI-1.png)
2. Click File.
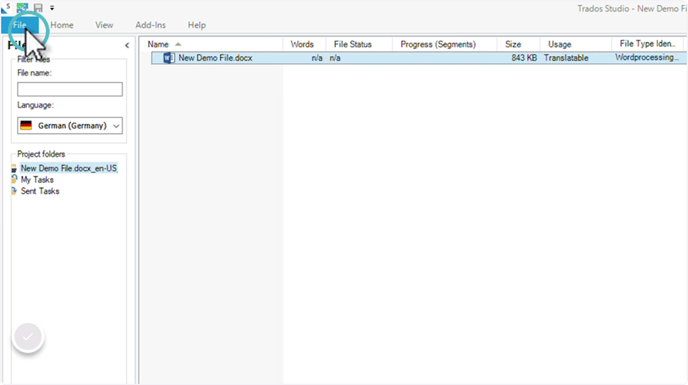
3. Click New > "New Local Project."

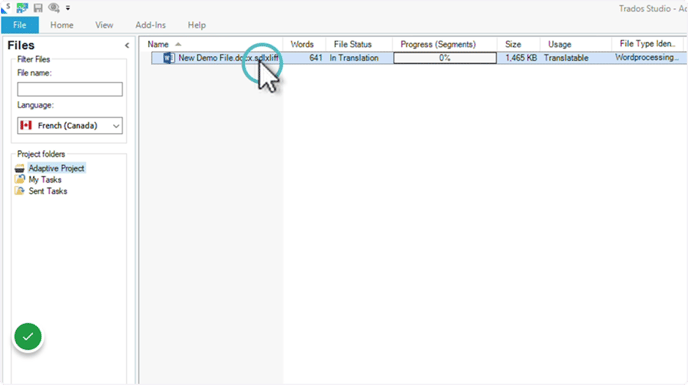
Add a file for translation and select the Source and Target languages.
5. In the Translations Resources Step, click "Use Resources."
6. Select Alexa Translations A.I.
7. Fill out all the fields below.
Enter the Adaptive ID in the "Project ID" field. (see steps below on how to get the Adaptive ID)
Optional: Provide an Alexa Translations A.I. username
Alexa Translations A.I. plugin configurations are set specifically for each provider name. Multiple configurations can be used under different provider names and details.
# Go to Alexa Translations A.I.
8. Click on Adaptive Engines under Projects.
Copy the Adaptive Engine I.D. #
If you have not received your API key, please reach out to your CSM or email ai_support@alexatranslations.com

9. Once the configuration is completed, ensure Alexa Translations A.I. is enabled.
10. In Step 7 of the Trados Studio "Batch Tasks"
If you would like all untranslated segments to be filled using machine translation, make sure that “Apply Automated Translations” is selected, as shown below.
11. Click Finish.
# How to use Adaptive Engines in Trados Studio
13. Once a segment is finalized, right-click > Change Segment Status > Translation Approved.
This action sends the segments to Alexa Translations A.I., contributing to the Adaptive Engine training for the specified project (Adaptive I.D.).
